ProjectWise Integration Overview
AssetWise Inspections integrates with ProjectWise. ProjectWise is a Bentley product used for document management. AssetWise Inspections can send data and files to Projectwise but ProjectWise does not send data and files to AssetWise Inspections. A sync between the systems occurs automatically any time a change is made. User setup can be done by selecting the Project Wise Integration option in the Administration module. Additional set up will need to be completed by Bentley in order for ProjectWise to be accessible and to begin using the integration features.
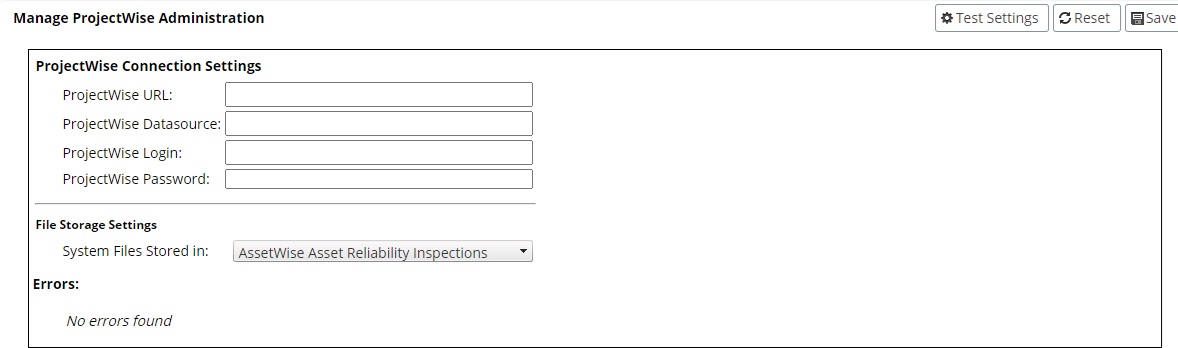
ProjectWise Connection Settings
The ProjectWise URL, ProjectWise Datasource, ProjectWise Login, ProjectWise Password are all provided by Bentley for the ProjectWise implentation. The connection settings enable AssetWise Inspections to connect to ProjectWise. The ProjectWise Login will be displayed in ProjectWise as the created by user when updates are made.
File Storage Settings
The System Files Stored Indropdown is also provided by Bentley for the ProjectWise implementation. Files stored and transferred to ProjectWise include approved report PDF's and their attached photographs or files.
Errors
The Errors grid will display any errors associated with the ProjectWise implementation. An example of an error that would be displayed would be caused by trying to sync data from an asset in AssetWise Inspections that doesn't exist in ProjectWise. Please reach out to Bentley support and submit an SR if any errors are displayed for more information.
Manage ProjectWise Administration Page Controls

The Test Settings button tests the connection setup to make sure that the data can be integrated between the two applications
The Reset button clears all connection settings fields.
The Save button saves the changes made to the connection settings fields.
All assets will need to be mapped manually to a project in ProjectWise.
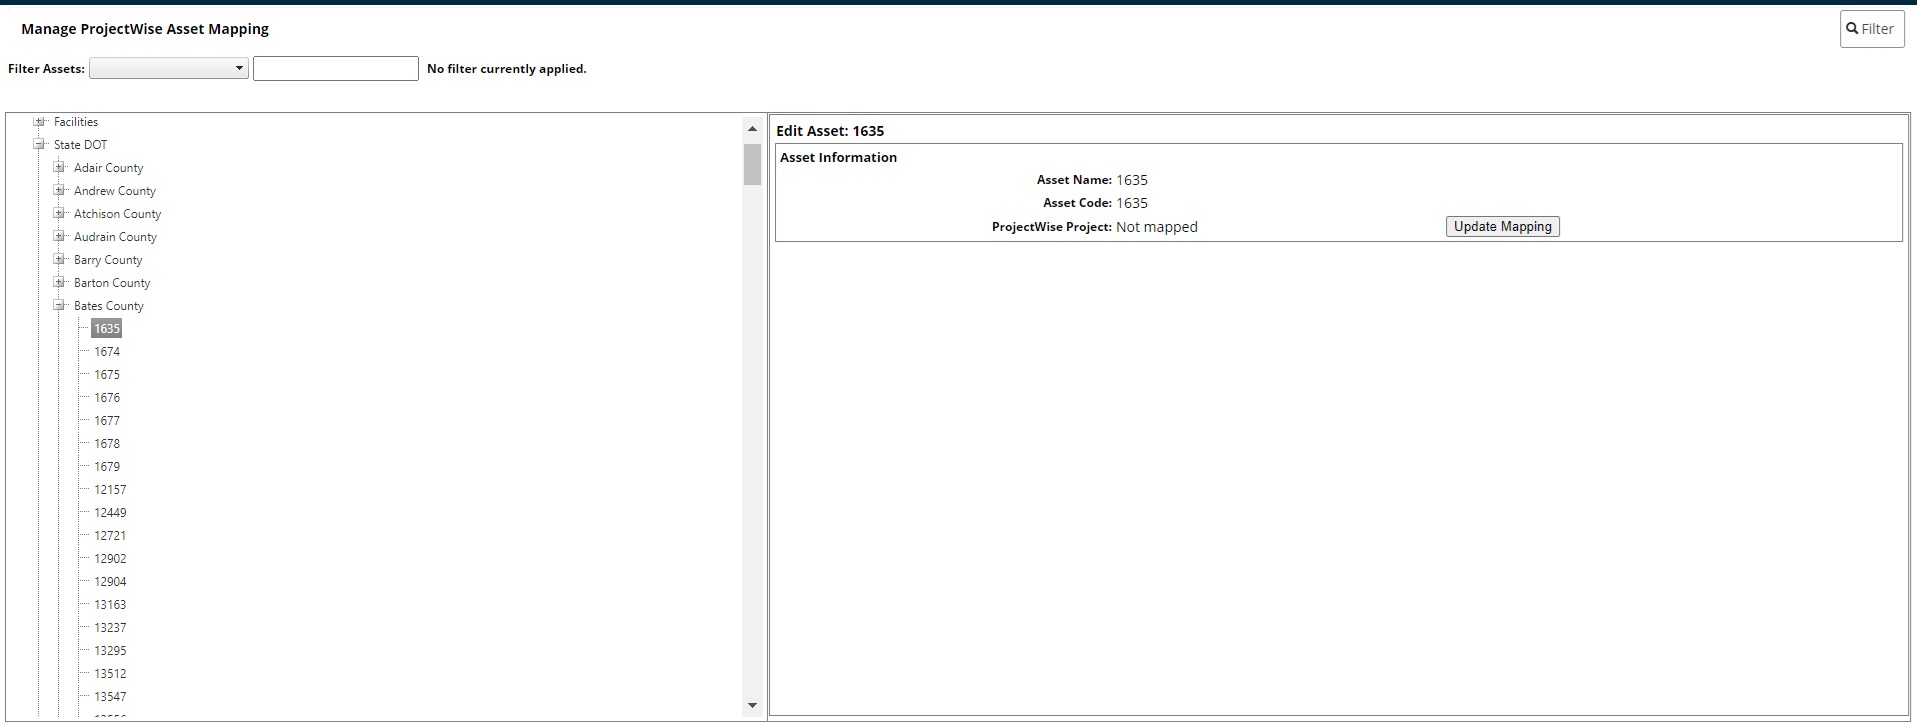
Asset Mapping
Use the asset tree to filter to an asset or scroll through the tree to find the specific asset you want to map to a project in ProjectWise. Once the asset is selected use the Update Mapping button to map the asset to its corresponding project in ProjectWise.
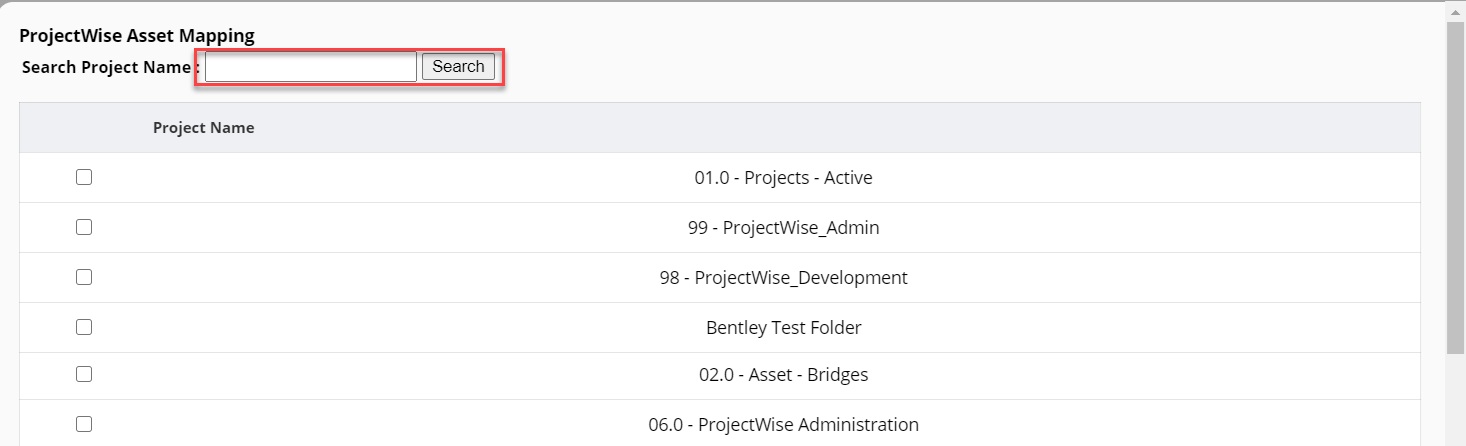
When the Asset Mapping window opens enter the ProjectWise project name in the textbox and hit search. Once the project is found, use the checkbox to associate the asset with the project and select the save button. The mapping will now appear on the prior screen.

Asset mapping can also be done when creating a new asset in Manage Inventory under the Administration module.
If the checkbox does not appear on the screen, this will need set up on the advanced settings type in Asset Types under Site Configuration.
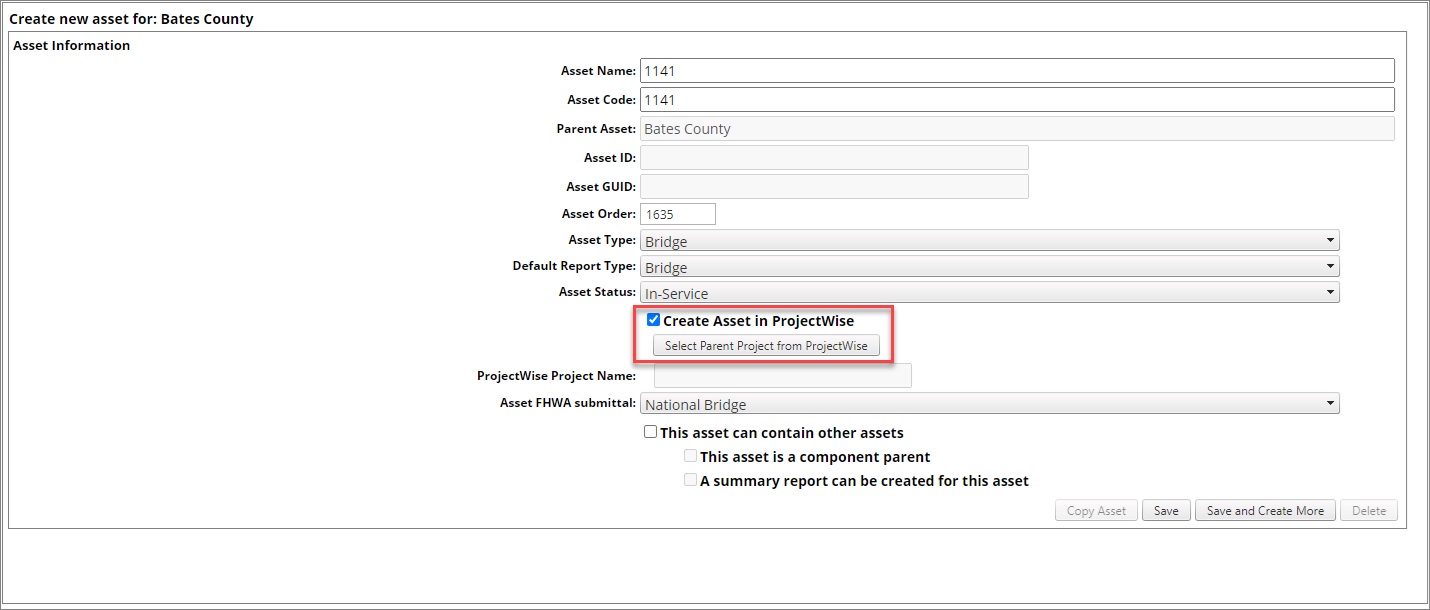
Select the checkbox next to Create Asset in ProjectWise to create the new asset in AssetWise Inspections and also a project in Projectwise with the asset mapped to both systems. Use the Select Parent Project from ProjectWise to search for the project to map the asset to. When choosing mappings, projects already mapped to an asset appear read-only (grayed out).

ProjectWise project properties displays a list of fields for each asset. This is the data that is updated with the most recent approved inspection report in AssetWise Inspections. The project properties are created in ProjectWise first and then mapped in AssetWise Inspections. This is done manually.
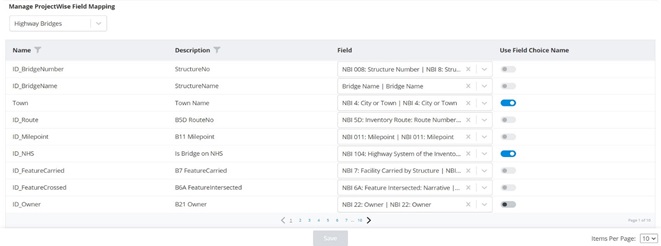
Field Mapping
A list of fields will populate based on what is entered in the project properties within ProjectWise. Use the dropdown in the Field column of the grid to search for the associated field in AssetWise Inspections that will update the data in ProjectWise.

For dropdown fields in AssetWise Inspections, the toggle button under Use Field Choice Name in the grid will display the field choice name in ProjectWise under project properties when enabled. If the toggle is off, the field choice value will display.